FFXIV – Trials, A Cheat-sheet For Ranged DPS
607 words.
(Resurrected from my Drafts folder.)
Trials in FFXIV are cool little instances that consist of a single boss in an arena-like setting. The normal ones require four players, and you queue for them just like a dungeon. (Or if you actually know real humans who play games, you can go in with a pre-made party I guess.) I find them quite fun.

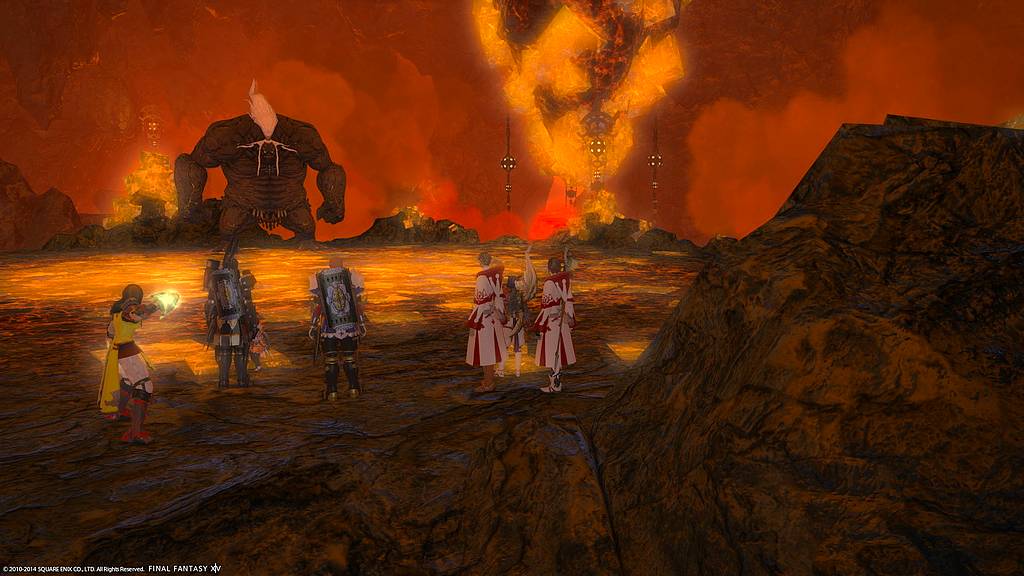
This is an 8-man Titan Hard Mode trial, but you get the idea.
If you want to complete the main story quest, you have to go through four of these things (as well as numerous dungeons). (Yes, the game does, in fact, force you to group with other players to do the main story. The LFG tool is relatively painless, though.)
I recommend studying the mechanics of these trials for a bit before attempting them, unless you think you’ll be in a group that won’t yell at you. Since the introduction of the low-level roulette, a lot of impatient people are just farming them. Here are the highlights for a ranged DPS:
The Bowl of Embers (Ifrit). The first trial, and the easiest of the three by far. 1) Avoid the ground AoEs (there are no red circles). More appear in the second half of the fight. 2) Make sure to switch to the fragment that appears about halfway through. That’s about all you need to know. If you have trouble with this, you can pretty much forget a career in running dungeons or raids.
The Navel (Titan). The second trial, much harder, and some PUGs aren’t going to make it. 1) When he jumps in the air, run close to the red ring but not past it or you’ll get knocked off. 2) Get out of the way of Titan’s column attack quickly. (Make sure you compensate for any lag. Sometimes it looks like you’re clear, but you still get clobbered.) 3) Switch to Titan’s heart when it appears about halfway through the fight and burn it quickly. 4) Break out any party members that get encased in stone during the second half of the fight.
The Howling Eye (Garuda). The third trial, and oh man, what a pain it is. Many PUGs will fail this. 1) Hide behind stone columns when Garuda disappears. Remember she comes down on the opposite side the second time. 2) When you’re not hiding, stay away from the columns; they take damage from Garuda’s attacks if you’re too close to them. 3) Burn down the flying adds quickly with an AoE because they’ll peck at your columns. 4) Don’t forget to run closer to Garuda to get out of the big tornado AoE near the end, after the columns are gone. 5) Good luck. Your success at the end depends on how well you do at the beginning.
Cape Westwind (Rihtahtyn sas Arvina). This is where you finally learn why all of your dungeons have said, “Light Party,” because this one requires a “Full Party” of eight people. (Before this, I wondered if there was a “Dark Party.”) I honestly do not even remember this one. I feel like because there were 8 people, it was pretty easy.
There’s a lot of cut scene action in and around the trials. I don’t understand why they put so much of that into these group activities. I want to watch the movie, but I feel like I need to skip past them quickly because the rest of the group is waiting for me. And unfortunately cut scenes dealing with the trials are reeeeeally loooong. (By the way, I found out you can re-watch all the cut scenes in an Inn.)
Archived Comments
gattsuru 2014-05-17T04:01:01Z
A note for the Howling Eye (Garuda) : after she blows up the pillars, she’ll still do the disappearing trick every so often. When she does, she’ll either reappear at the far north or south of the arena, or appear in the center. If she goes to a distant side, you’ll want to run away from her – if she’s far north, head south. Her next attack is a massively damaging circular AOE centered on her. If she goes to the center of the arena, her next attack is a massively damaging unmarked cone AOE : get to the side of the arena she’s not pointing at.
Cape Westwind has a couple adds that pop up early on, and the boss will occasionally fire off some AoEs to dodge that leave burning patches or do lots of damage. It’s pretty forgettable unless the healers or tanks goof up, though.
And, yeah, the inn diary is nice. It’s not a perfect compromise, since it doesn’t always include all the bells and whistles you see when doing the instance as a team (most obviously in the Praetorium, where the normal cutscenes will show all of the party, but the inn version will only show you).
Sorry, new comments are disabled on older posts. This helps reduce spam. Active commenting almost always occurs within a day or two of new posts.